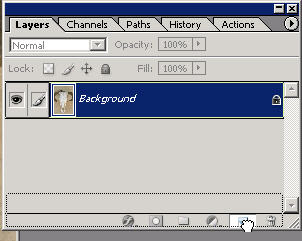
The first thing you should do when altering any pixels is make a duplicate of the layer you want to screw around with. Just drag it to the new layer icon as show
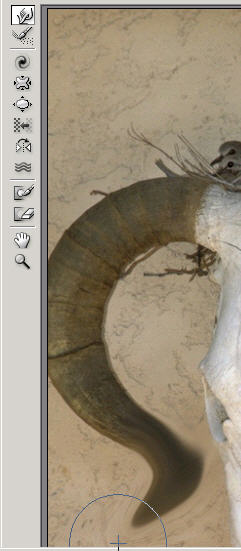
Choose the Smudge tool as shown. The tool you used the latest will appear on top of the mini-menu when you have a choice when you have Photoshop open.

As with many tools again, you can change the size of the brush/tool.

Here I’m choosing a small brush and I’m just going to smudge the antler (?) of this skull for example. Just click and drag with the smudge tool.

Once again, be aware of the strength setting. This will affect how easy it is to actually ‘smudge’ pixels. The stronger the setting, the easier and faster the smudge.
Practice around with the smudge tool on a document of your choice. You can have a lot of fun going crazy with this and the liquify tool (esp. on stronger settings).
Go to Filter: Liquify and the mondo dialog box.

Along the left side you will see different liquify tools. These are fun to play with. You can actually do some serious photo enhancement and retouching such as making people lose 20 lbs., getting rid of love handles, etc. A practical AND fun tool. This is just a basic introduction. Choose a tool (the default is ‘shift pixels’) and just start dragging around.

You can also choose to display mesh. This is just the digital/mathematical remembrance of all of your goofiness. You can save meshes and reapply them to other images.
Try each of these different tools and see what they do. The reflect tool is pretty wacky...definitely a liquid kind of feel. This skull is now an alien brain. Bloat and pucker are ones I use quite a bit actually.

Try each of these different tools and see what they do. The reflect tool is pretty wacky...definitely a liquid kind of feel. This skull is now an alien brain. Bloat and pucker are ones I use quite a bit actually.


Tidak ada komentar:
Posting Komentar