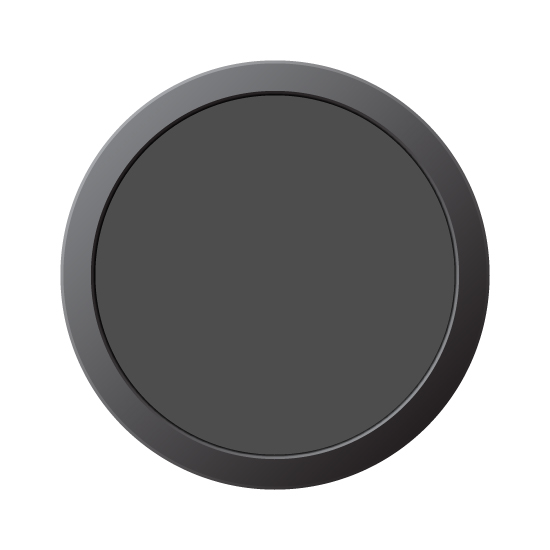
Step 1
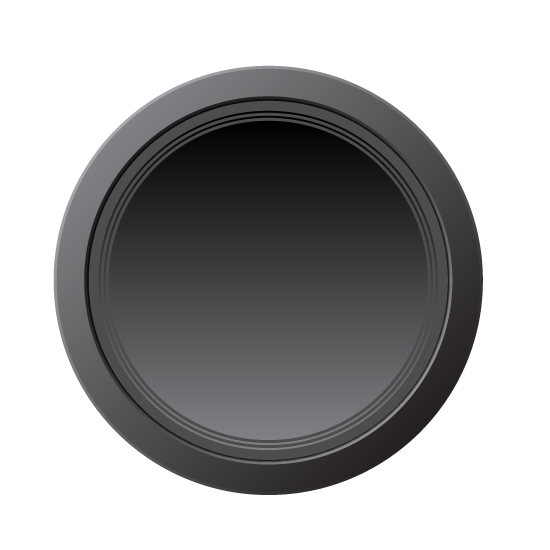
Create a new document of whatever size and aspect ratio you’d like. Unlike Photoshop, in Illustrator it’s quite easy to change the document size anytime during our work. We can simply resize the vector graphics to fit the new dimensions. I initially chose a square document at 550 pixels by 550 pixels.
Since the process of creating our image is primarily just layering shapes with different gradients and fills over each other, most of the following steps will simply say what the size of the circle should be, what the gradient type is, the gradients direction, the colors used in the gradient, their color stop locations in the gradient, and the location of the center slider(s) in the gradient.
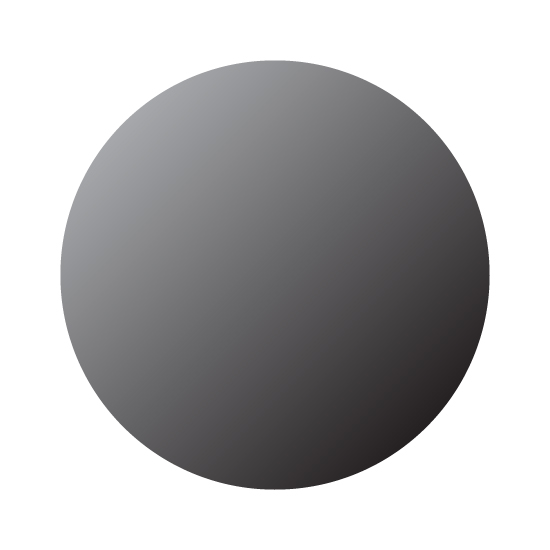
Make the first circle is 429px wide, with a -45 degree linear gradient, which has a 100% gray (at 100% stop) to 40% Gray (at 0% stop), and the center slider set at 50%.
Step 2
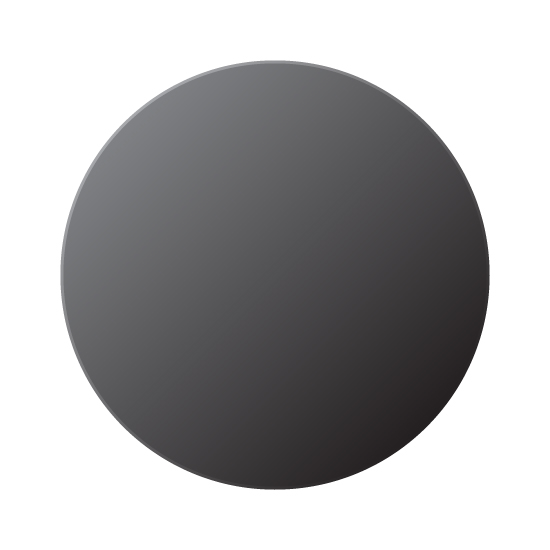
Make the second circle is 423px wide with a -45 degree linear gradient, which has a 100% gray (at 100% stop) to 60% gray (at 0% stop), and the center slider at 50%.
Step 3
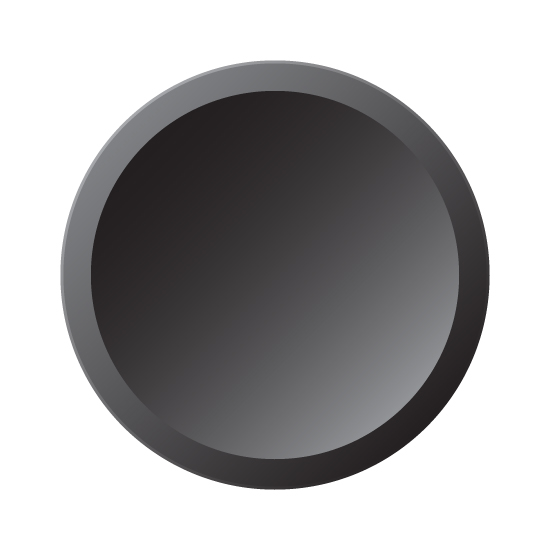
Make the third circle is 368px wide, with a 135 degree linear gradient, which has a 100% gray (at 100% stop) to 50% gray (at 0% stop), and the center slider at 33%.
Step 4
Make the fourth circle is 364px wide, with a solid black fill. Additionally, we’re going to give this circle a feather of 3px by going to Effect > Stylize > Feather.
Step 5
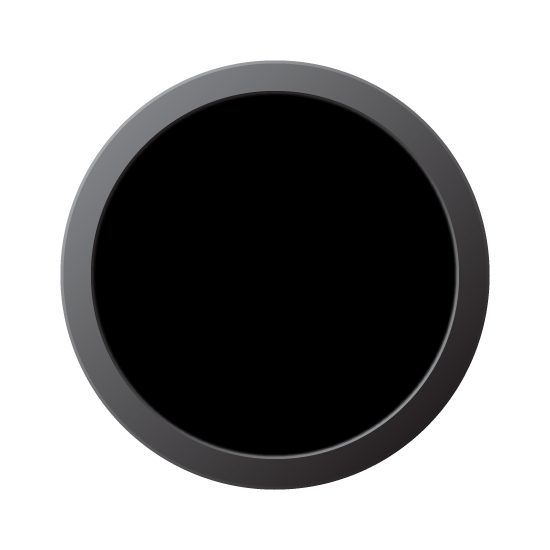
Make the fifth circle is 359px wide with a solid 70% gray fill.
Step 6
Make the sixth circle 339px wide with a 90 degree linear gradient, which has a 100% gray (at 100% stop) to 60% gray (at 0% stop), and the center slider at 50%.
Step 7
Make the seventh circle 335px wide with a solid 70% gray fill.
Step 8
Make the eighth circle 329px wide with a 90 degree linear gradient, which has a 100% gray (at 100% stop) to 60% gray (at 0% stop), and the center slider at 50%.
Step 9
Make the ninth circle 325px wide with a solid 70% gray fill.

Step 10
Make the tenth circle 319px wide with a 90 degree linear gradient, which has a 100% gray (at 100% stop) to 60% gray (at 0% stop), and the center slider at 50%
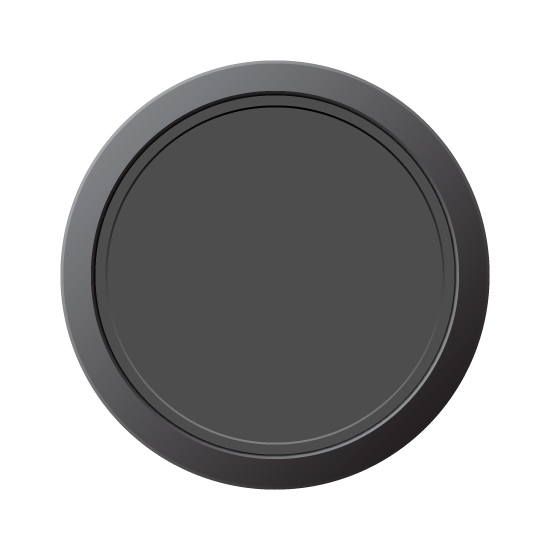
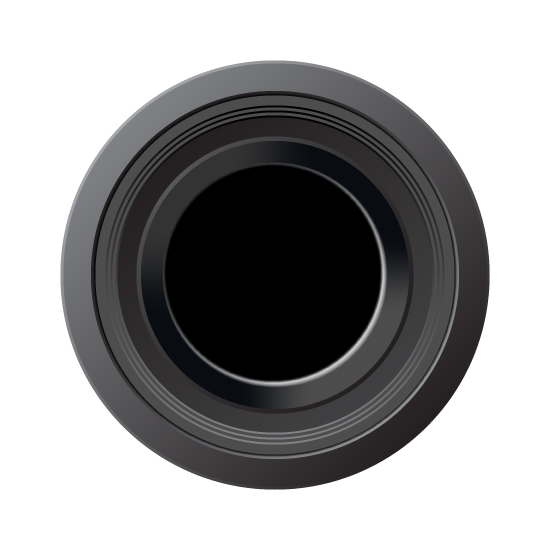
Step 11
Make the eleventh circle 315px wide with a 130 degree linear gradient, a 100% gray (at 100% stop) to 90% gray (at 0% stop), and the center slider at 50%.
Step 12
Make the twelfth circle 277px wide with a radial gradient, which has a 100% gray (at 100% stop) to 80% gray (at 0% stop), and the center slider at 50%. The radial gradient should originate from the center and get darker toward the edge.
To change the point from where it originates, select the Gradient tool, and click and drag from the top left-most corner of the circle to the bottom right-most corner. Hint: if the gradient isn’t changing when you drag across, make sure the circle is selected.
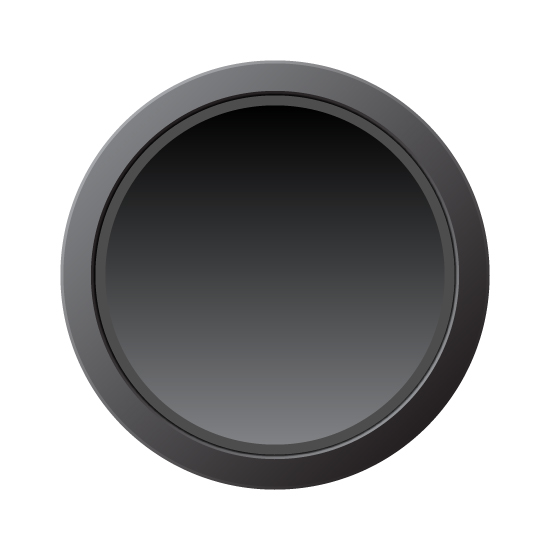
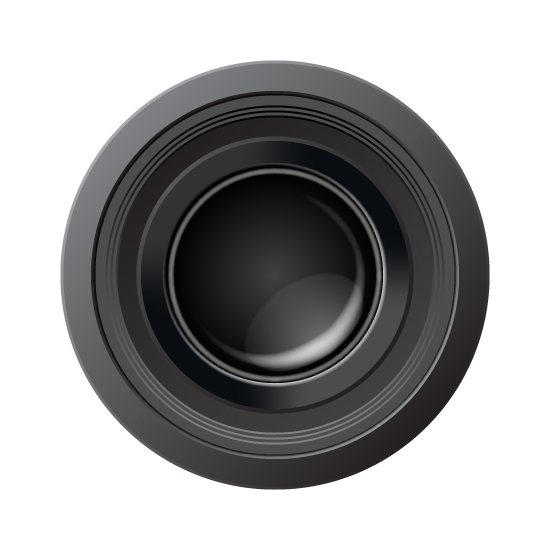
Step 13
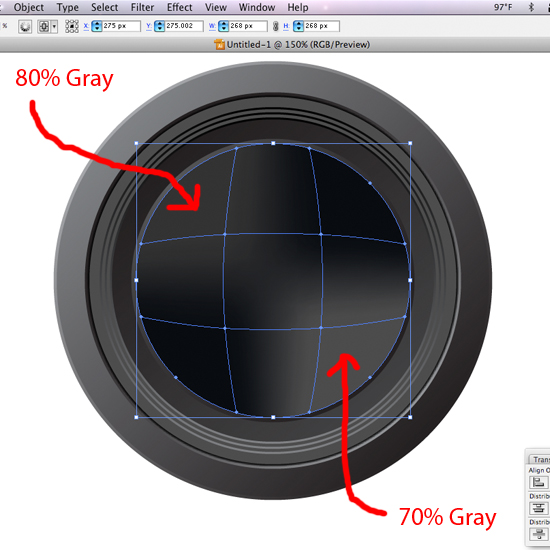
For the next circle we need a slightly more complex gradient, and for that we’ll use a gradient mesh. Gradient meshes are extremely powerful and can be used to create incredibly complex and photo realistic illustrations by blending colors in an almost infinite number of ways. However, we only need a simple mesh here, so create a 268px wide circle and fill it with solid black.
Gradient meshes can be created manually by adding mesh points using none other than the Gradient Mesh tool, but since we just need a simple one, we’ll have Illustrator create it for us. Select the circle, and go to Object > Create Gradient Mesh. Leave all of the default values set, but change the rows and columns to 3 each. When you click OK, Illustrator will create the mesh.
With the circle selected, switch to the Direct Selection tool, and click on a point (intersection) on the mesh to select it. Then, click in the top left-most area of the mesh and change its color to 80% gray. Next, click in the bottom right-most area and change its color to 70% gray.
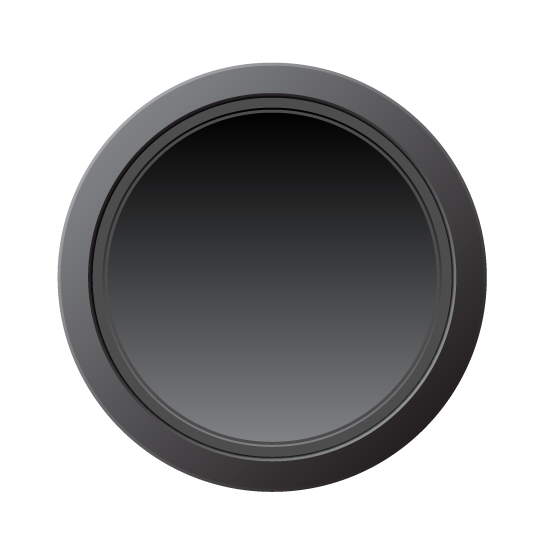
Step 14
Make the fourteenth circle 225px wide with a solid white fill. Additionally, give this circle a Feather of 6px by going to Effect > Stylize > Feather..

Step 15
Make the fifteenth circle 220px wide with a solid black fill. Then add a 3px Feather to this circle.
We’re also going to offset this circle. First, align it center with all of the other circles. Then, using the Arrow keys, nudge it up twice and to the left twice.
Step 16
Make the sixteenth circle 216px wide with a solid black fill.
Tip: you may want to lock down the offset black circle created in Step 15. Then you can still select all of the shapes and center them relative to the art board without disrupting the offset one.

Step 17
Make the seventeenth circle 208px wide with a radial gradient, which has a 100% Gray (at 100% stop) to 90% Gray (at 0% stop), and the center slider at 50%.

Step 18
Make the eighteenth circle 208px wide with no fill and a 7pt white stroke. Then apply a 4px Feather to this circle.

Step 19
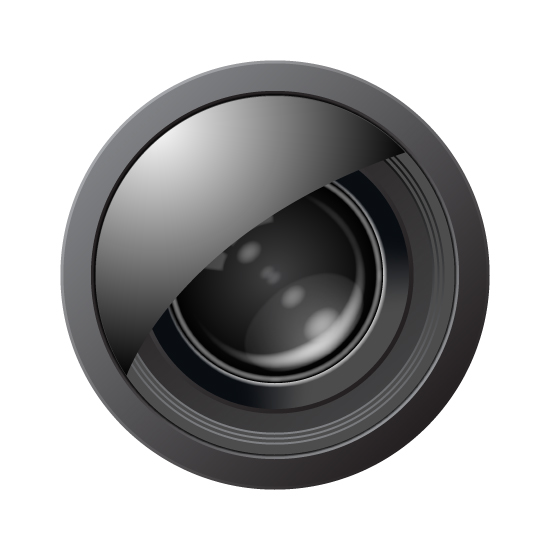
Now we’ll add some glare and reflections to our inner lens to give it a glass appearance. Draw a sort of half-moon shape with the Pen tool, fill it with white, and give it an 8px Feather. Also, lower its Opacity to 75%.

Step 20
To add a bit of a glare to the bottom corner of the lens, draw an oval shape with the Pen tool. It’s okay if it’s not perfect, as some imperfection will add to the effect. Again, fill the shape with white, give it a 3px feather, and lower its opacity to 50%.
Step 21
Next we’ll add a few more reflections to the lens. Draw two more shapes, as shown below. Then fill them with white, give them a 3px Feather, and lower their Opacity to 20%.
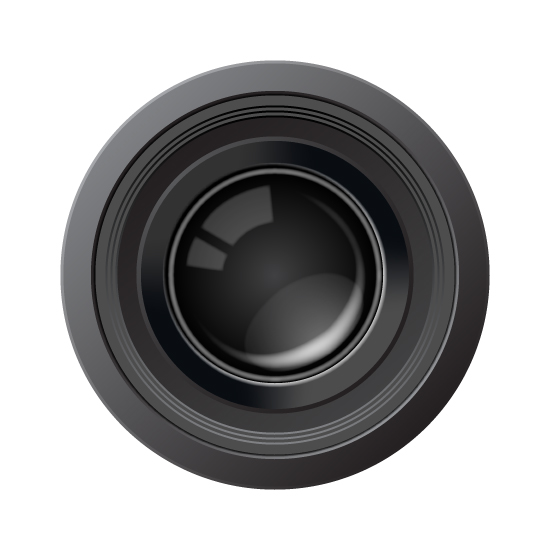
Step 22
Draw a few ovals with the Ellipse tool, making them larger as they go. Rotate them to about a 45 degree angle, and place them in a diagonal line with the smallest oval towards the center. Once you have three done in a row, select them all, copy them, and then rotate them and place them in line with the first three, again with the smallest oval toward the center.

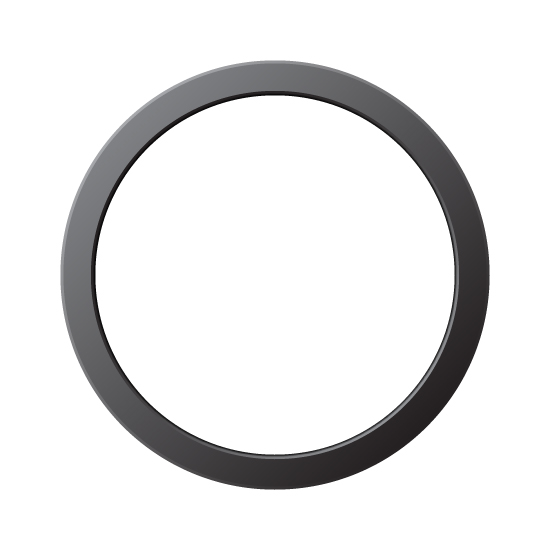
Step 23
All that’s left to do is add the outer lens. To do that, draw a white circle that covers all of the camera lens except for the outer frame. Then, using the Scissors tool, click on the top right-most corner and slightly below the left-most side of the circle path to cut the path at those points.
Delete the bottom half of the circle, then, with the Pen tool, click on one end of the path to continue it. Then click on the other end and drag to create a curved line joining the ends of the half-circle. Once you’ve drawn the half-circle, lower its Opacity to 50%.
Step 24
We’re now going to create a transparency mask to add a slight touch of glare to the lens reflection. A transparency mask is composed of a shape on top of another shape. The top shape used as the mask can be black, white, or any shade of gray, or a grayscale gradient.
When the mask is created, the areas of the shapes underneath are made transparent based on the shade of gray that is laid over them. So, the darker the area of the top shape, the lower the transparency will be of the bottom shape under that area. The lighter the shade of gray, the more opaque that area will be.
To create our mask, copy the half-circle we created in the last step and paste it directly on top of the original (Command + F for Paste In Front). Bring the opacity of the copy back up to 100%, and fill it with a white to black gradient originating in the top left-most corner. To change the origination point, again use the Gradient tool as we did earlier.
Step 25
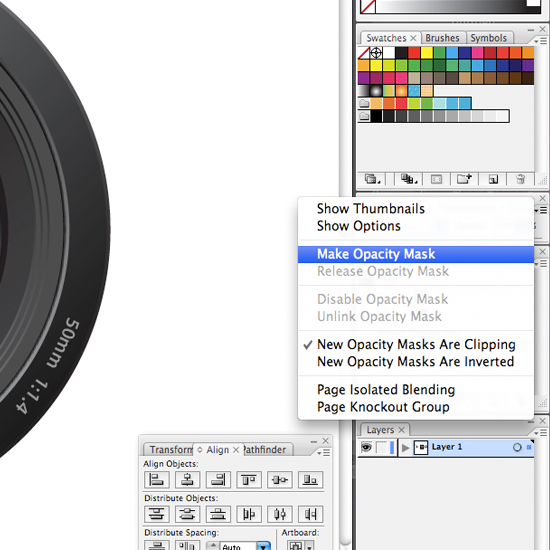
The final step is to create the transparency mask. To do so, right-click on the top half-circle and go to Select > Next Object Below. This will select the bottom shape. To select the top one as well, hold Shift and click on it. In the Transparency palette, click on the popup menu button in the top-right corner and select Make Opacity Mask.
Conclusion
The text around the frame is accomplished using the Type On a Path Tool, located under the Type tool. Simply, draw a circle whose edge runs along the middle of the frame, select the Type tool, and click on the circle to begin typing along the path.
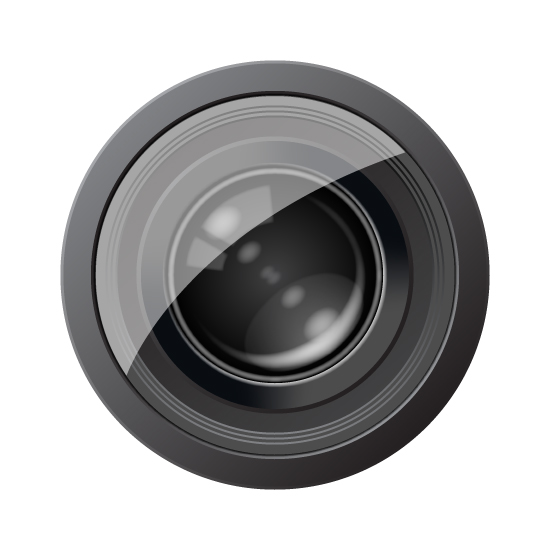
That’s it! We’ve finished our camera lens. It’s ready to be used as an icon, logo, or any other type of graphic for wherever it’s needed. And the best part – it’s fully scalable! Remember that complex graphics can be created just by combining simple shapes and colors, and that 3D effects can be simulated with simple 2D shapes as well.

Tidak ada komentar:
Posting Komentar