Step 1
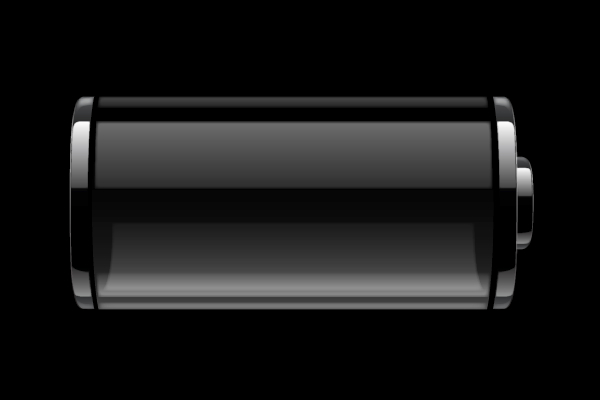
We’ll start by creating a new document and filling it with a solid black background. You can make yours whatever size you’d like, mine is 600 px by 400 px.
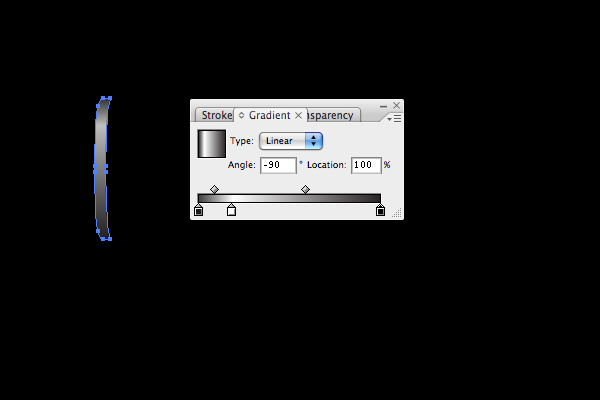
Now that we have our document, we’ll begin with creating the metal cap at the end of the battery. Start by drawing a shape, as shown below. The colors in the gradient from left to right are 90% gray, white, and black. Additionally, give the object a 1px Feather and lower its Opacity to 75%.
Step 2
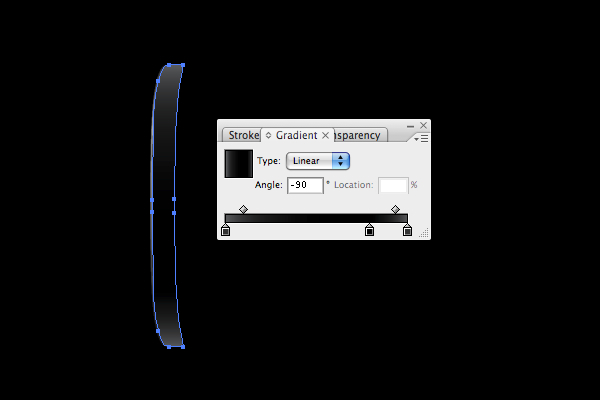
Copy (Command + C) this object and paste the copy directly in front (Command + F). Then, nudge the copy one pixel to the right using the right arrow key. The colors for the gradient from left to right are 80% Gray, Black, and 80% Gray. Additionally, raise the Opacity of this shape back up to 100%, and remove the feather on it by dragging it from the list in the Appearance palette to the small trash icon below it.
Step 3
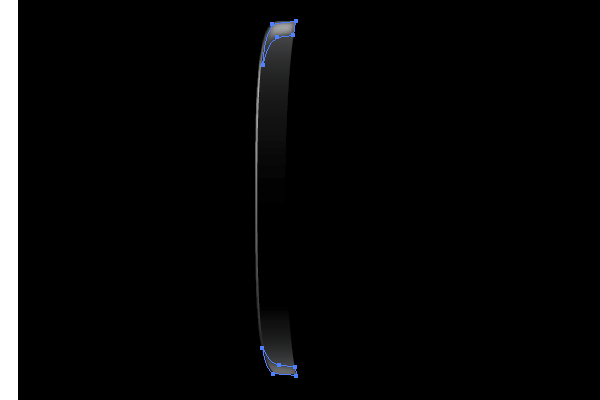
To add some highlights to the edges, draw two shapes as shown below with the Pen tool. Fill them both with white. Change the top shape’s Opacity to 75% and the bottom shape to 25%. Also, give both shapes a 2px feather.
Step 4
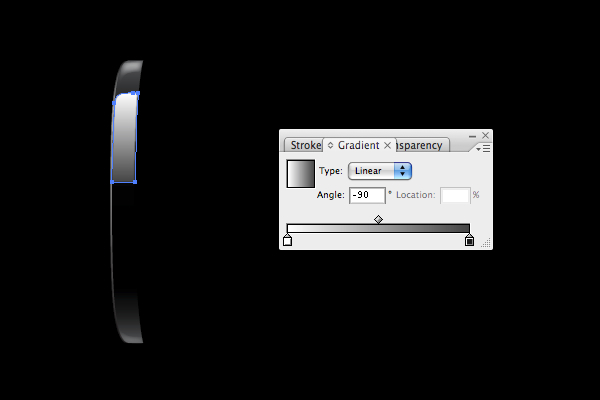
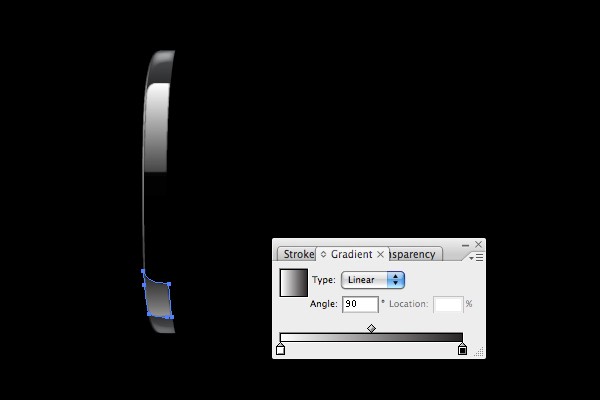
It may not be evident just yet, but we’re now going to add the reflections to the metal. Draw a shape with the Pen tool and position it as shown below. The left color on the gradient slider is white and the right color is 90% gray. Give the shape a 1px feather as well.
For the bottom reflection, draw another shape as shown. The gradient is white to black and the shape has a 1px Feather. Also, lower its Opacity to 50%.
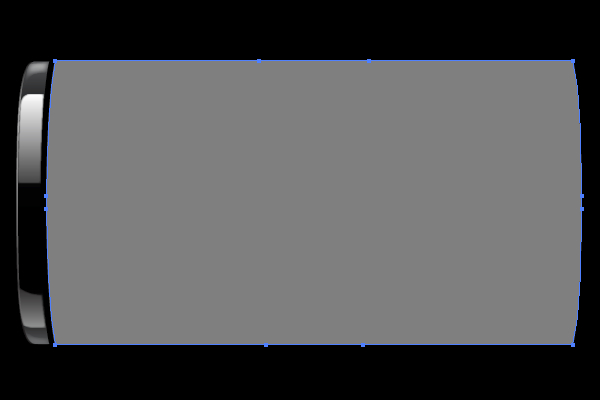
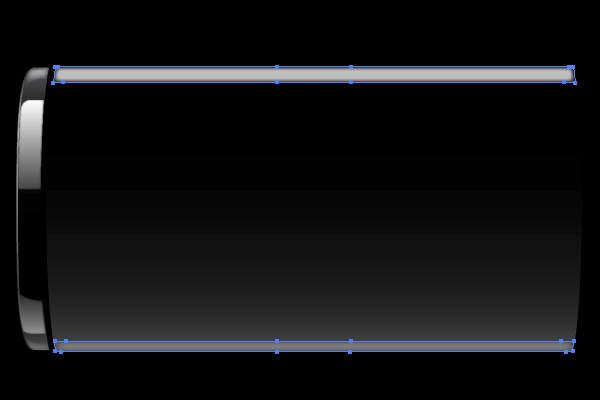
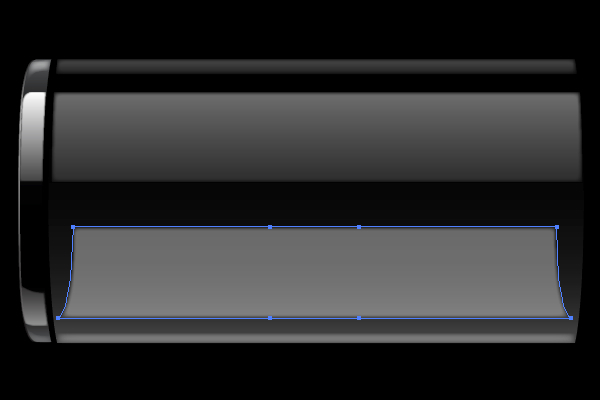
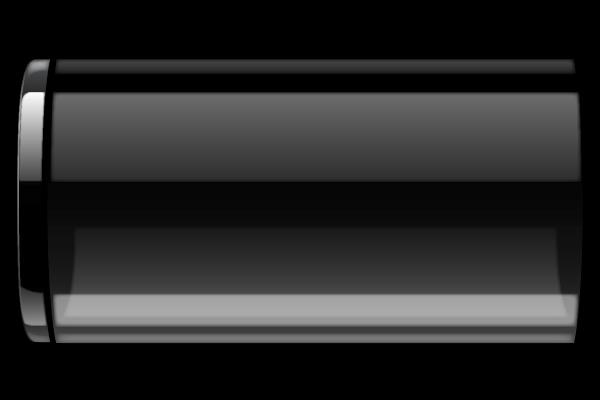
Now we’ll start on the transparent section of the battery. Begin by drawing the shape shown below with the Pen tool. Once drawn, fill the shape with white and lower its Opacity to 50%.
Hint: An easy way to draw the shape is to draw one half of it – leaving the path open, then, copy, paste, and reflect the copy of the shape to create the other half. Finally, just connect the points with the Pen tool. This also ensures that the final shape will be symmetrical.
Step 6
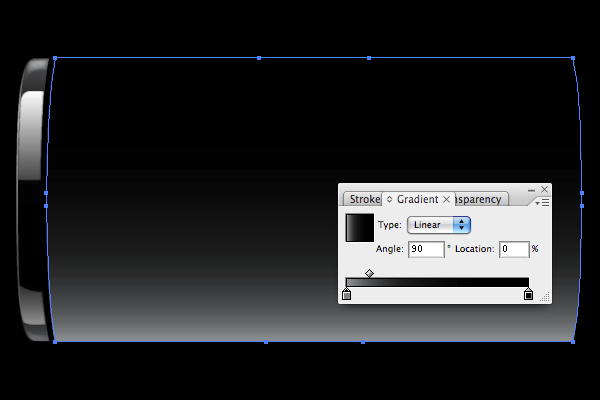
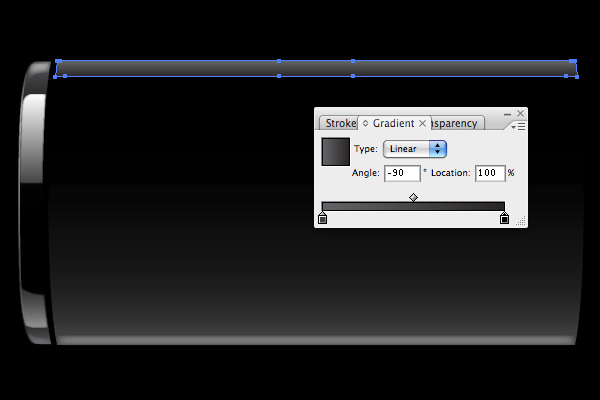
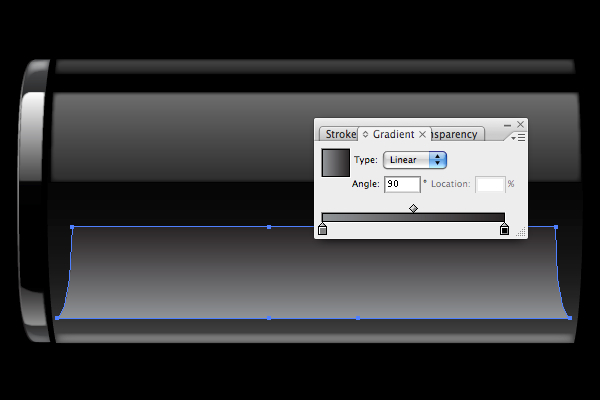
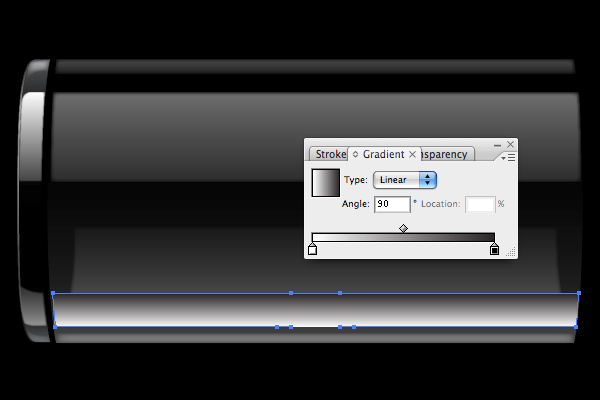
Now, we could simply use a black to gray gradient on this shape, but we’re going to use an opacity mask instead. It’s a little more work to create, but it will allow us to change the background behind our battery when we’re done. To create the mask, copy and paste the shape in front of the original. Bring its Opacity back up to 100%, and fill it with a gradient as shown below. The left slider is 50% gray and the right slider is black.
Step 7
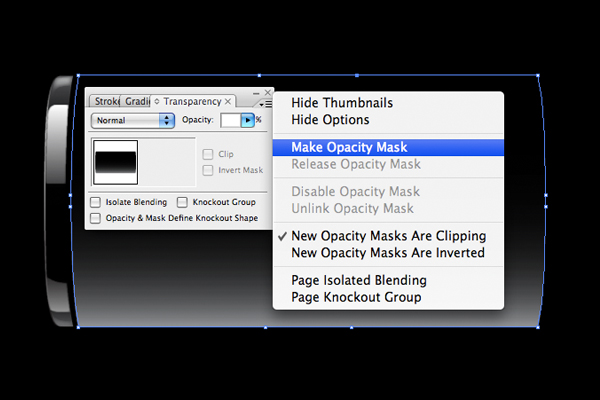
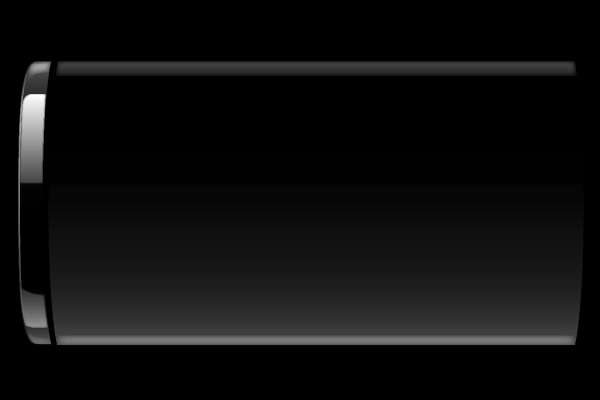
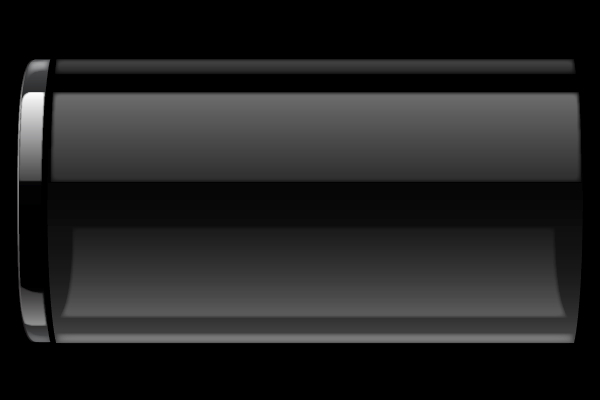
Now, select both shapes, then in the drop down menu in the Transparency palette select Make Opacity Mask. When you create the mask, you might not notice a change, but change the color of the document background and you’ll see the advantages of the opacity mask.
Step 8
We’ll now start adding some glare and reflections to make the glass look transparent. Begin by drawing two shapes as shown below. Fill them both with white and lower their Opacities to 75%. Feather the top one by 2px and the bottom one by 3.5px.
Step 9
We’ll also add an Opacity Mask to the top highlight. Paste a copy of the top shape in front of itself, bring its Opacity back up to 100%, and remove its Feather. Fill it with a gradient as shown below, going from 75% gray to black. Finally, create an Opacity Mask as we did before.
Step 10
We’ll add another reflection to the glass to match the one on the metal. Draw a shape as shown below, fill it with white, give it a 2px Feather, and lower its Opacity to 50%.
Step 11
Follow our routine to add the Opacity Mask. Paste a copy of the shape in front of the original and fill it with a gradient, which goes from 15% gray to 85% gray (don’t forget to remove the Feather on the shape).

Step 12
Once again create the Opacity Mask. Also, once you’ve created the mask, change the shape’s blending mode to Screen in the Transparency palette.
Step 13
By now you’re probably getting the idea of how to create our reflections. So, draw another shape for a reflection as shown below, then fill it with white. Lower its Opacity to 40% and Feather it by 2px.
Step 14
For the copy of the shape used for the opacity mask, use a 50% gray to black gradient, as shown below.
Step 15
And now? You guessed it. Create the Opacity Mask.
Step 16
Alright, our last reflection! One more time, draw the shape shown below, fill it with white, lower its Opacity to 50%, and Feather it by 2px.
Step 17
Copy and paste the shape to make the Opacity Mask. Use a white to black gradient for the shape.
Step 18
And for the last time, create the Opacity Mask.
Step 19
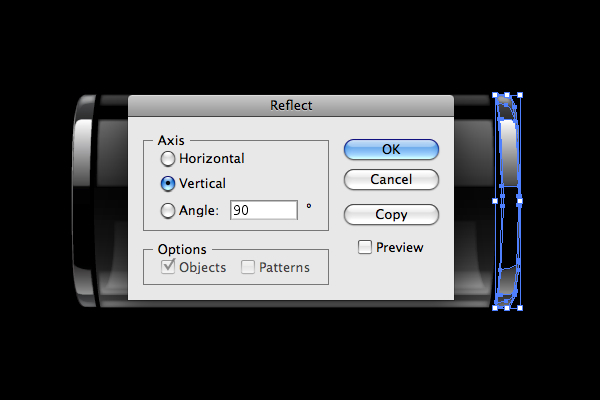
We’ll now add the other metal end cap to our battery, which is quite easy, seeing as they’re both identical. Select all of the shapes that make up the end cap, and go to Object > Transform > Reflect. In the dialog window that appears, select the Vertical radio button for the Axis and click Copy. Drag the copied and reflected shapes to the other end of the battery.
Step 20
Creating the positive contact on the battery is fast and easy. Simply select all of the shapes you just used for the metal end cap, then copy and paste them in front. With them all selected, Alt-click and drag on the top or bottom center handle of the group to shrink them vertically. You may also want to shrink them horizontally a bit as well.
Once you’ve got them the right size, send them to the back (Command + Shift + [ ), and then bring them forward one level (Command + ] ). If done correctly, the contact should be directly behind the metal end cap.
Step 21
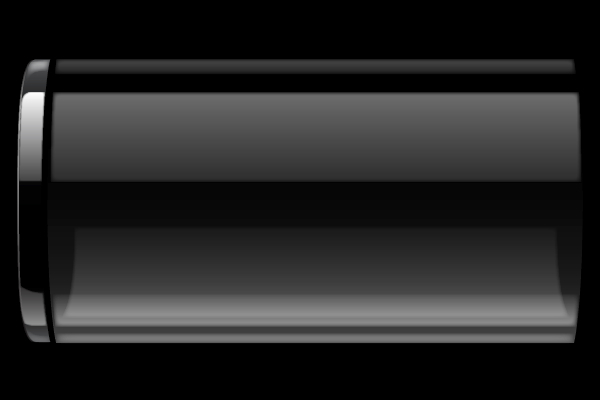
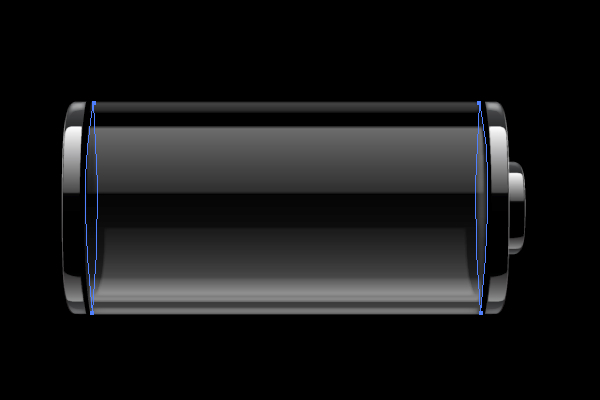
The last thing we have to do to finish the battery itself is to add some rounded slivers to represent the inside ends of the glass. Draw the two shapes, as shown below (or just draw one and copy and paste it). Fill the one on the right with white and lower its Opacity to 25%, and fill the one on the left with black and lower its Opacity to 50%. Additionally, change the Blend Mode of the one on the left to Overlay. Finally, Feather both shapes by 3.5px.
Step 22
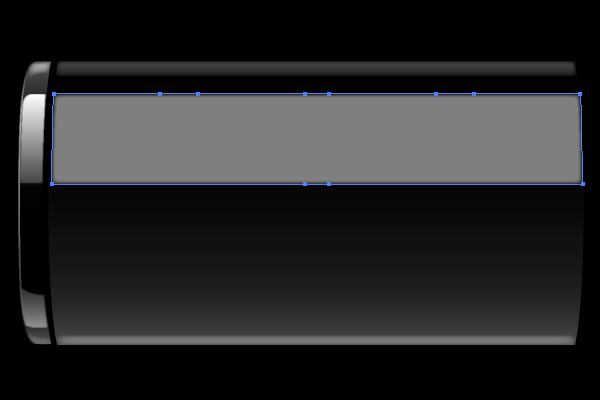
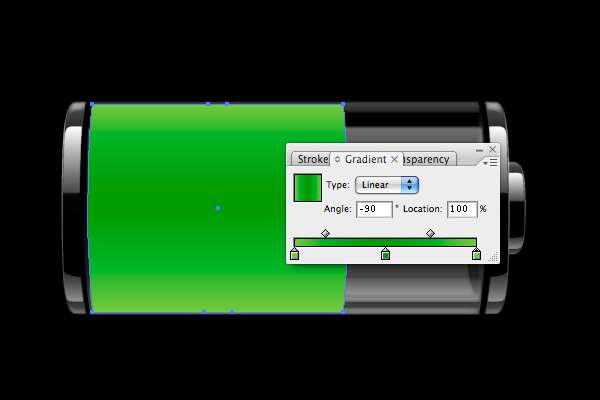
We’ll now work on the final element of the design, the "fuel" (battery energy). Draw a shape with the Pen tool like the one below. You can make the energy level whatever you’d like, as well as whatever color you’d like. I chose about two-thirds full and used a green gradient.
Step 23
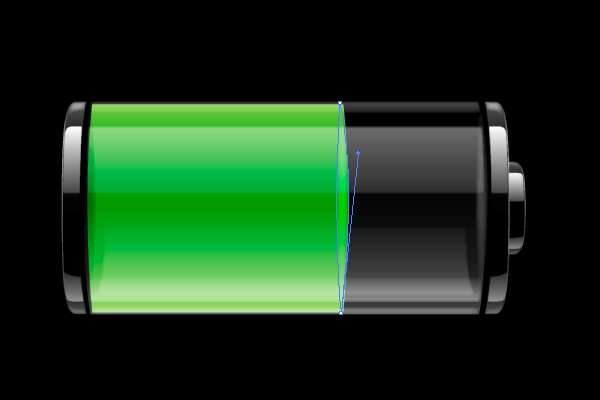
Once you have the look you want for the "fuel," send it to the back. Afterward, bring it forward twice so that it is directly in front of the base transparent layer, but behind the reflections.

Step 24
Finally, copy the black rounded sliver shape at the left edge of the glass and drag it to the edge of the "fuel," then change its fill color to white.
Step 25
To finish off the design, add some highlights to the metal parts of the battery by drawing ovals and filling them with white. Next, add a Feather to them and lower their Opacities.
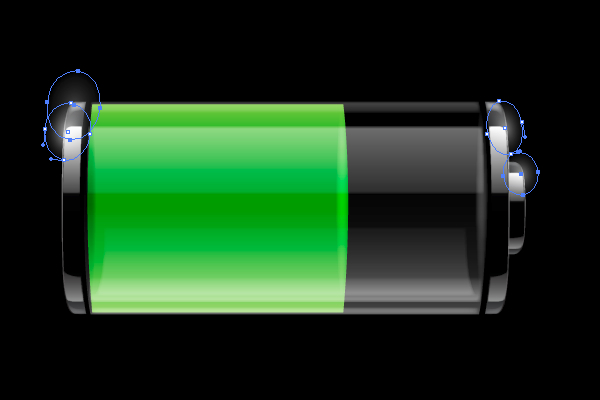
Step 26
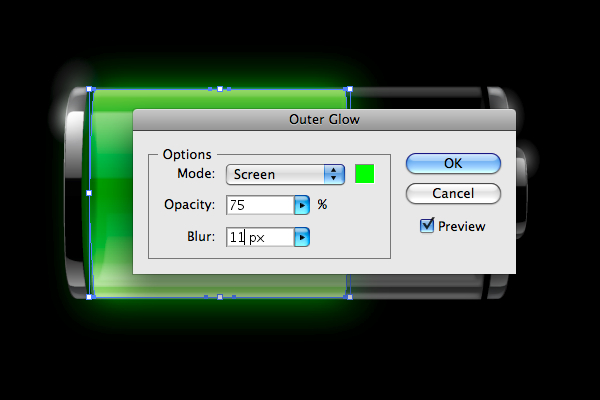
Additionally, add an Outer Glow to the "fuel" shape (Effect > Stylize > Outer Glow.). Make sure the Blending Mode is set to Screen. You’ll want the highlight color to match the color of the fuel. For my green "fuel," I used a bright lime green color for the glow (#19FF00). Make the Opacity 75% and the Blur 11px.
Tidak ada komentar:
Posting Komentar